Work boards are used frequently throughout the process of building a classical guitar. Depending on the part or stage of construction the work board surface may need to shaped such that it is no longer perfectly flat. Many classical guitars have domed tops and backs, and scalloped work board is often used to help establish those curves.
Because there are complex shapes intersecting the degree of scalloping can vary across the work board surface depending on the distance (either length- or width-wise) from a set reference point. Seeing how those shapes intersect can be difficult at first. This is discussed below and will hopefully help anyone having trouble visualizing these relationships.
The degree of curvature (doming) is usually referred to with radius designation. Two common radii are 15' and 25'. The smaller the radius the greater the degree of doming over a given length. For this post a slightly more exaggerating radius is being used (7.5').
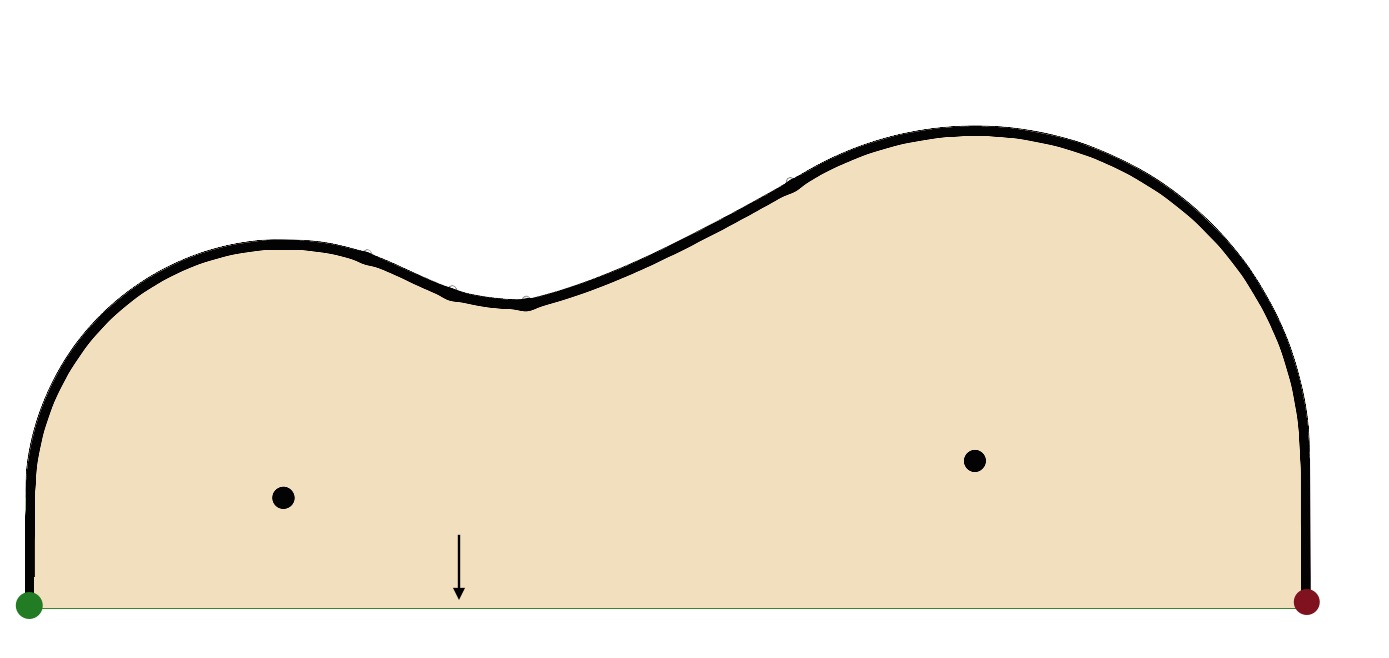
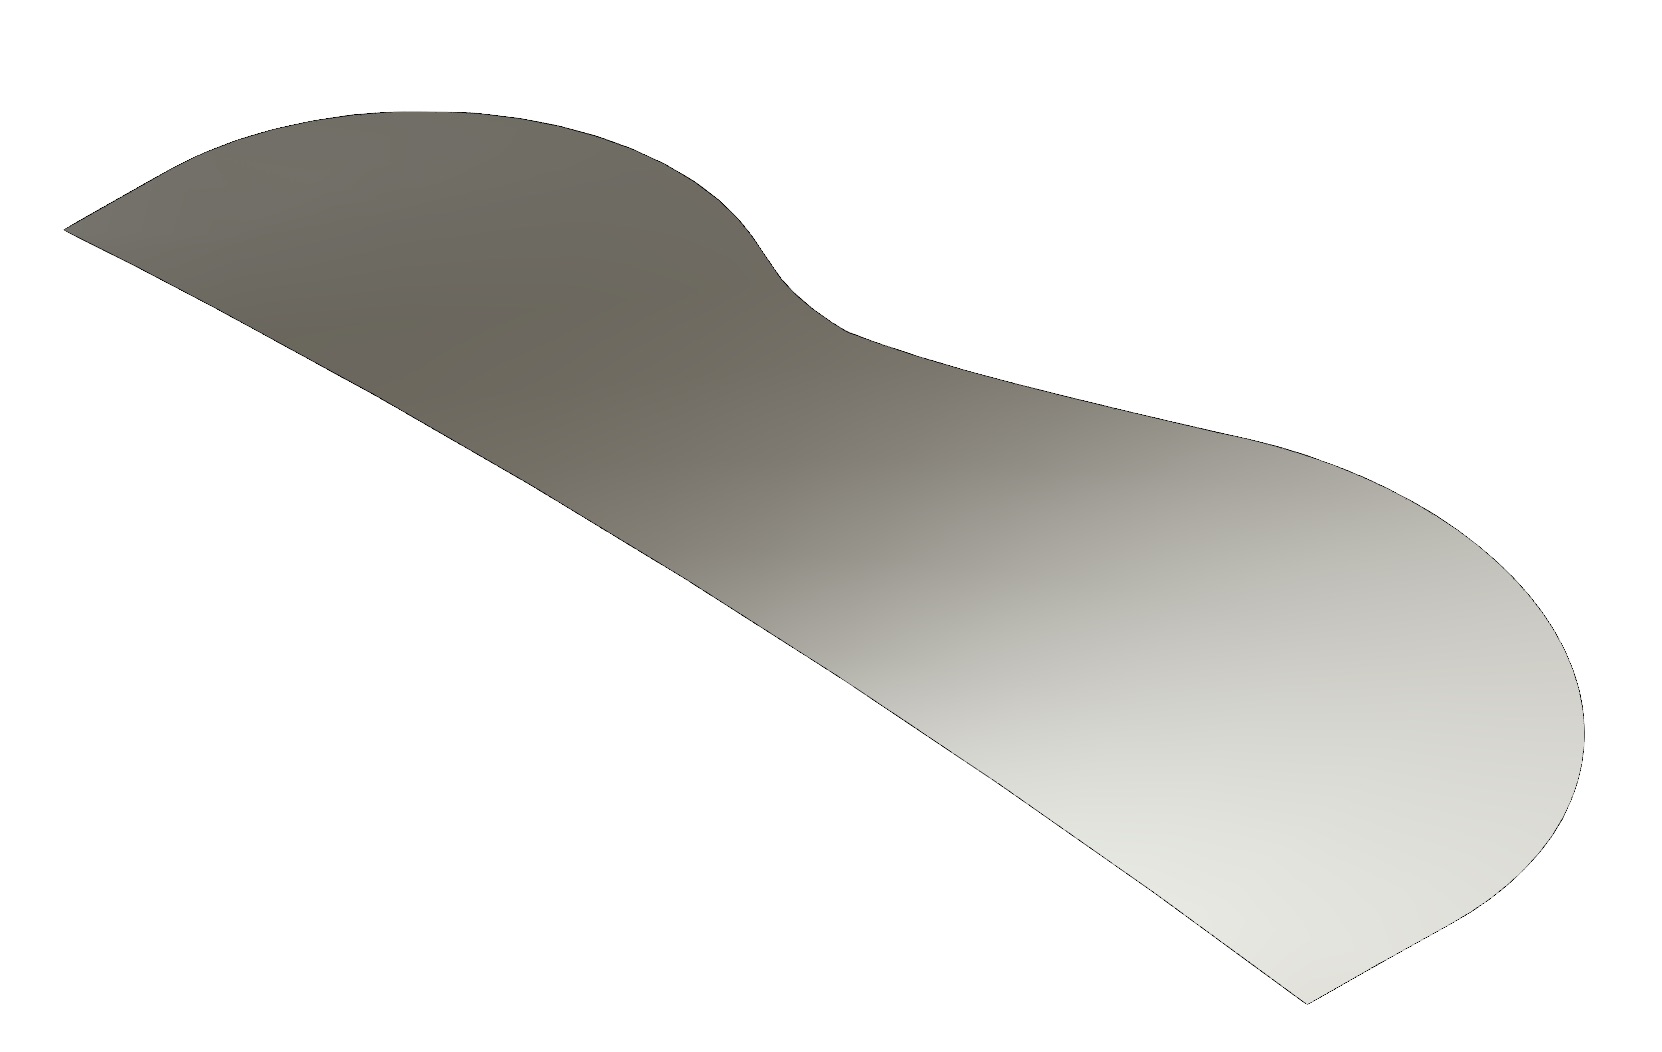
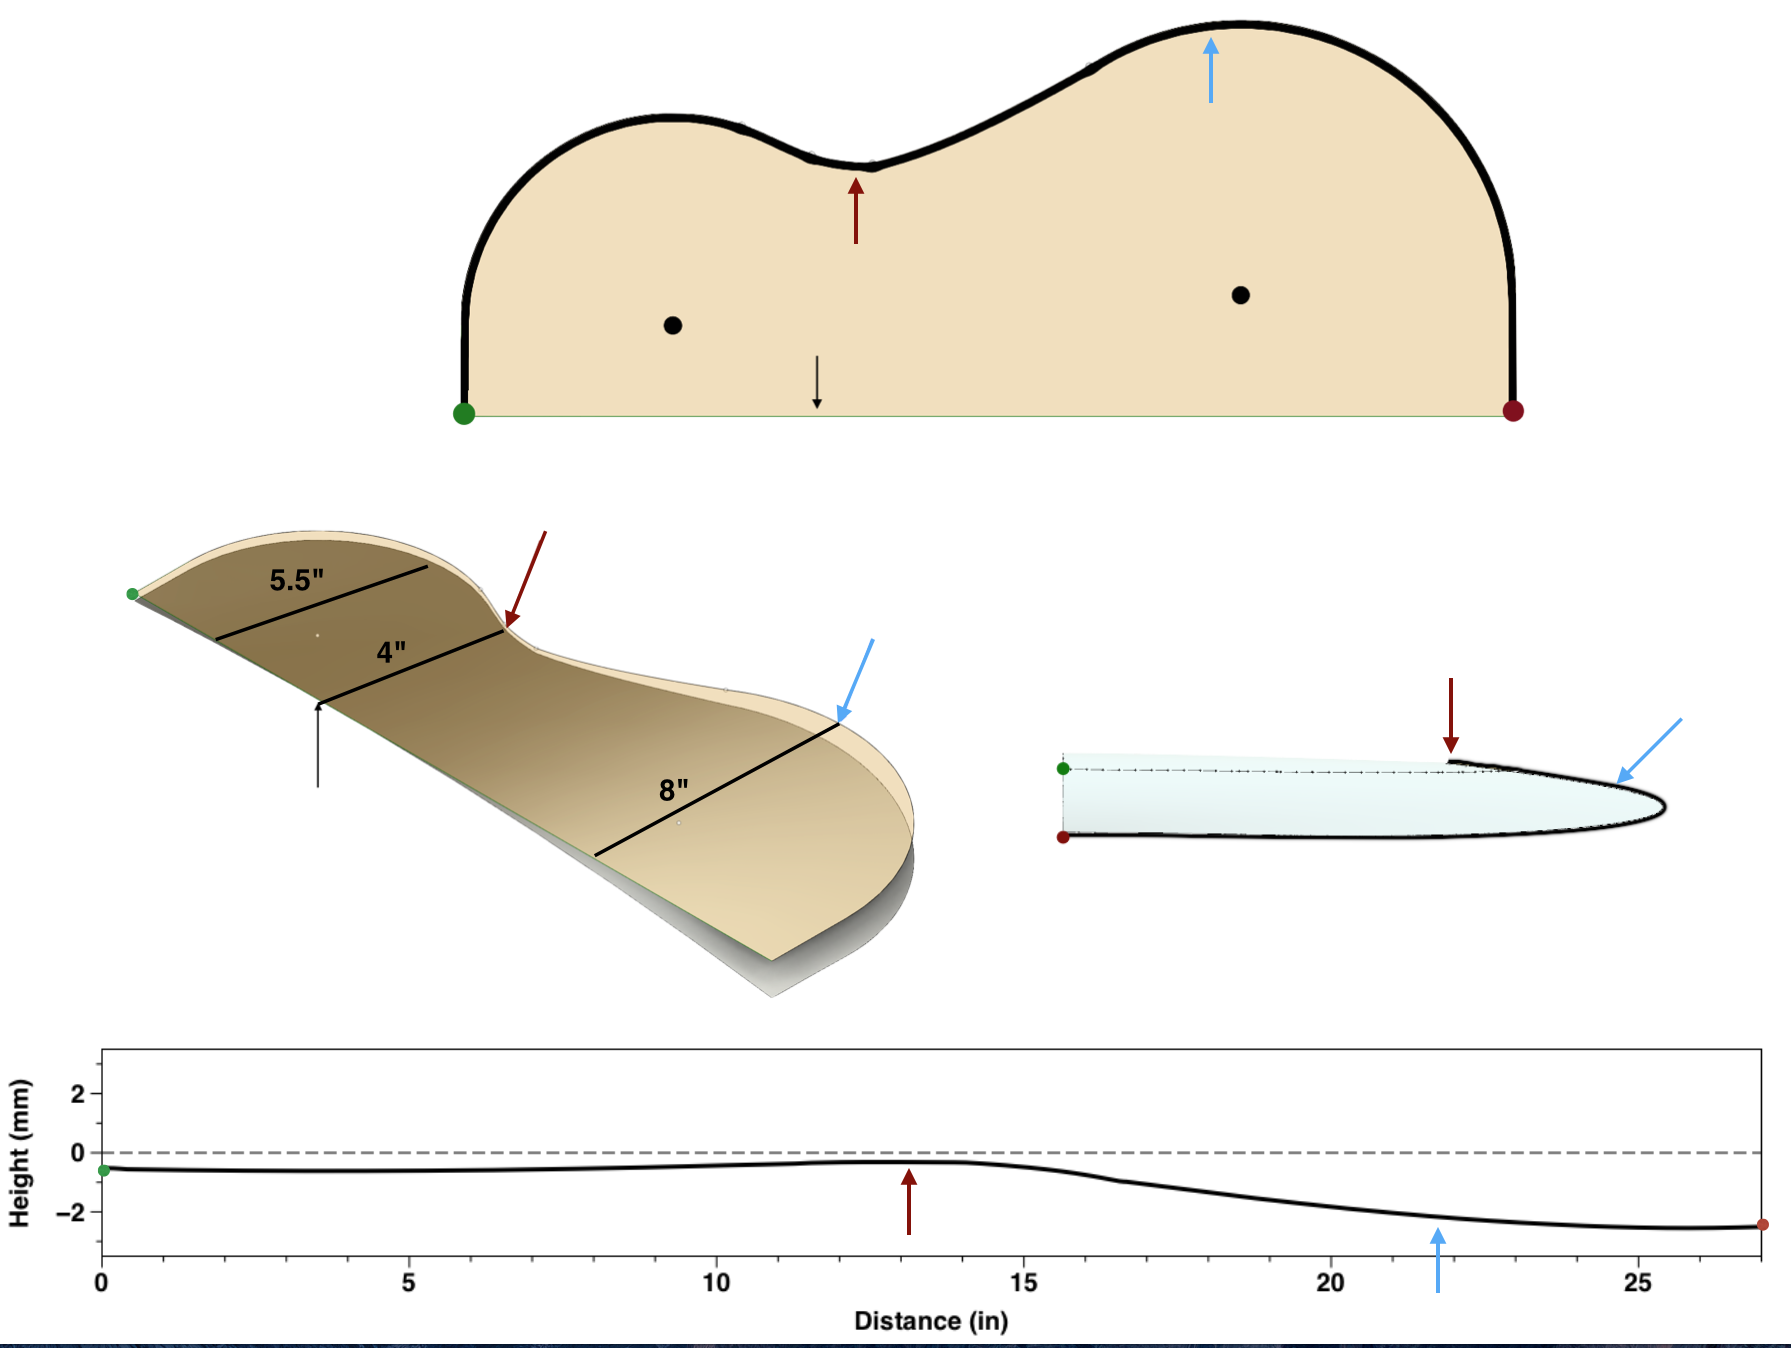
Figure 1 shows the half outline of a guitar with the black line representing the outside curve, the two black dots are simply the center of the circles used to generate the curves and the green and red dots represent the neck and butt of the guitar. Following the thick black line from the green to red dot the length of the curve is ~27". The black arrow represents a "center" point; the location where the outline will be placed at the surface of a sphere. This point may be, for example, the center of the sound hole.
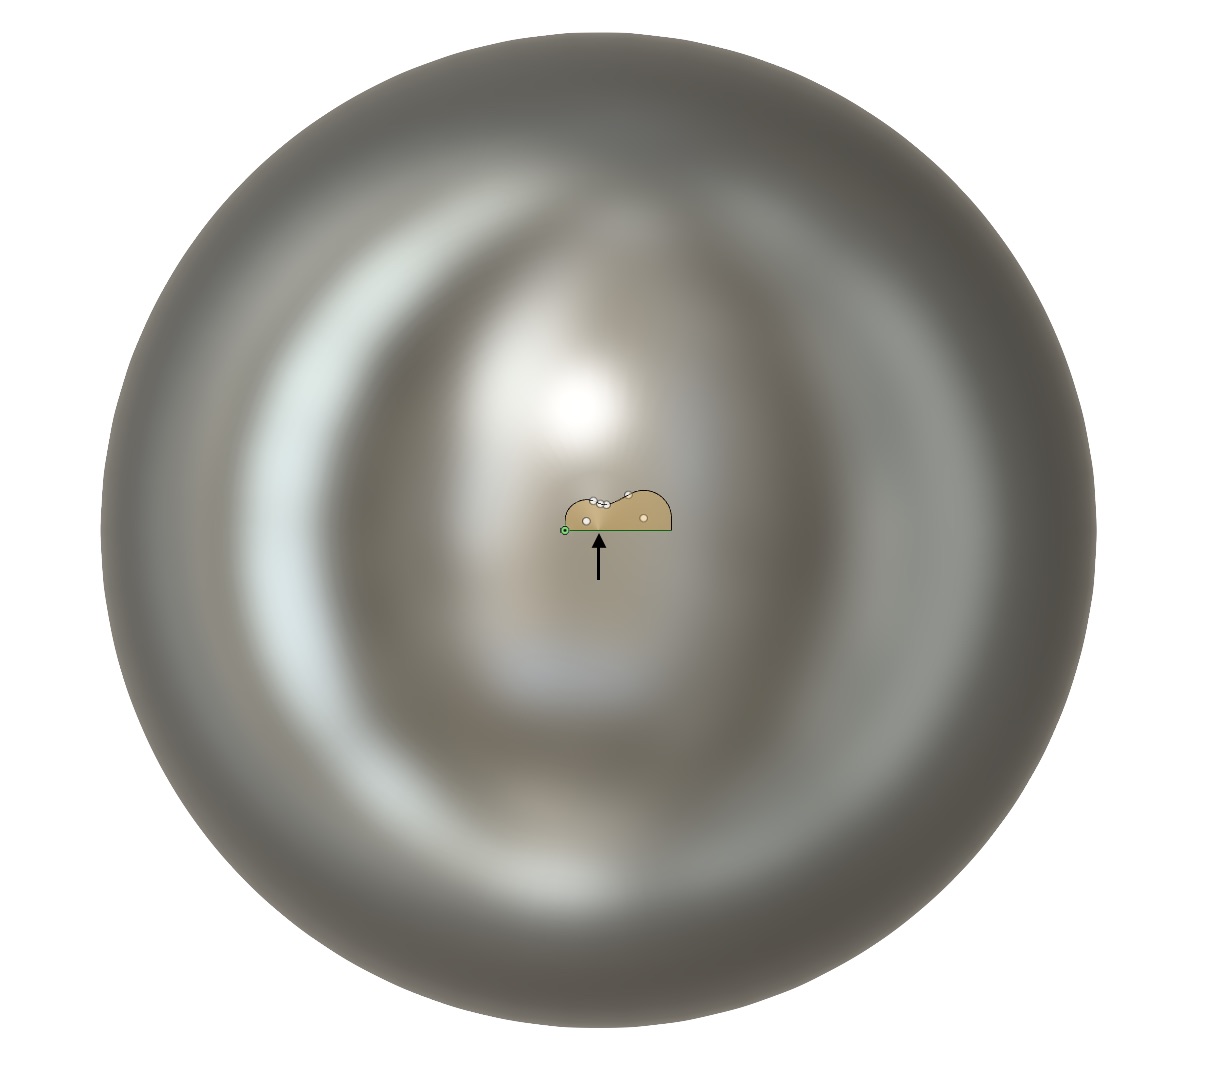


In Figure's 2a and 2B, the outline is shown relative to a sphere with a radius of 7.5 feet. The arrow, again, points to the reference center. From the side view (Fig. 2b) the center point is the point of contact with the sphere the rest of the outline sits some distance above the surface. A close up is shown in Figure 2c.
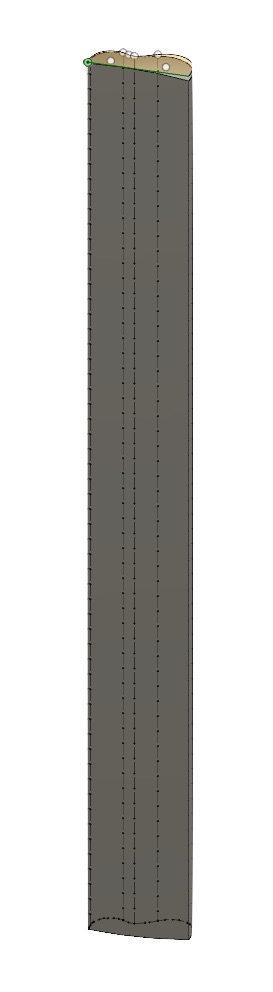
Figure 3 shows the projection of the guitar outline through the sphere with the remainder of the sphere (the part not enclosed within the guitar shape) removed. If your guitar were 7.5" deep this is what it would look like.
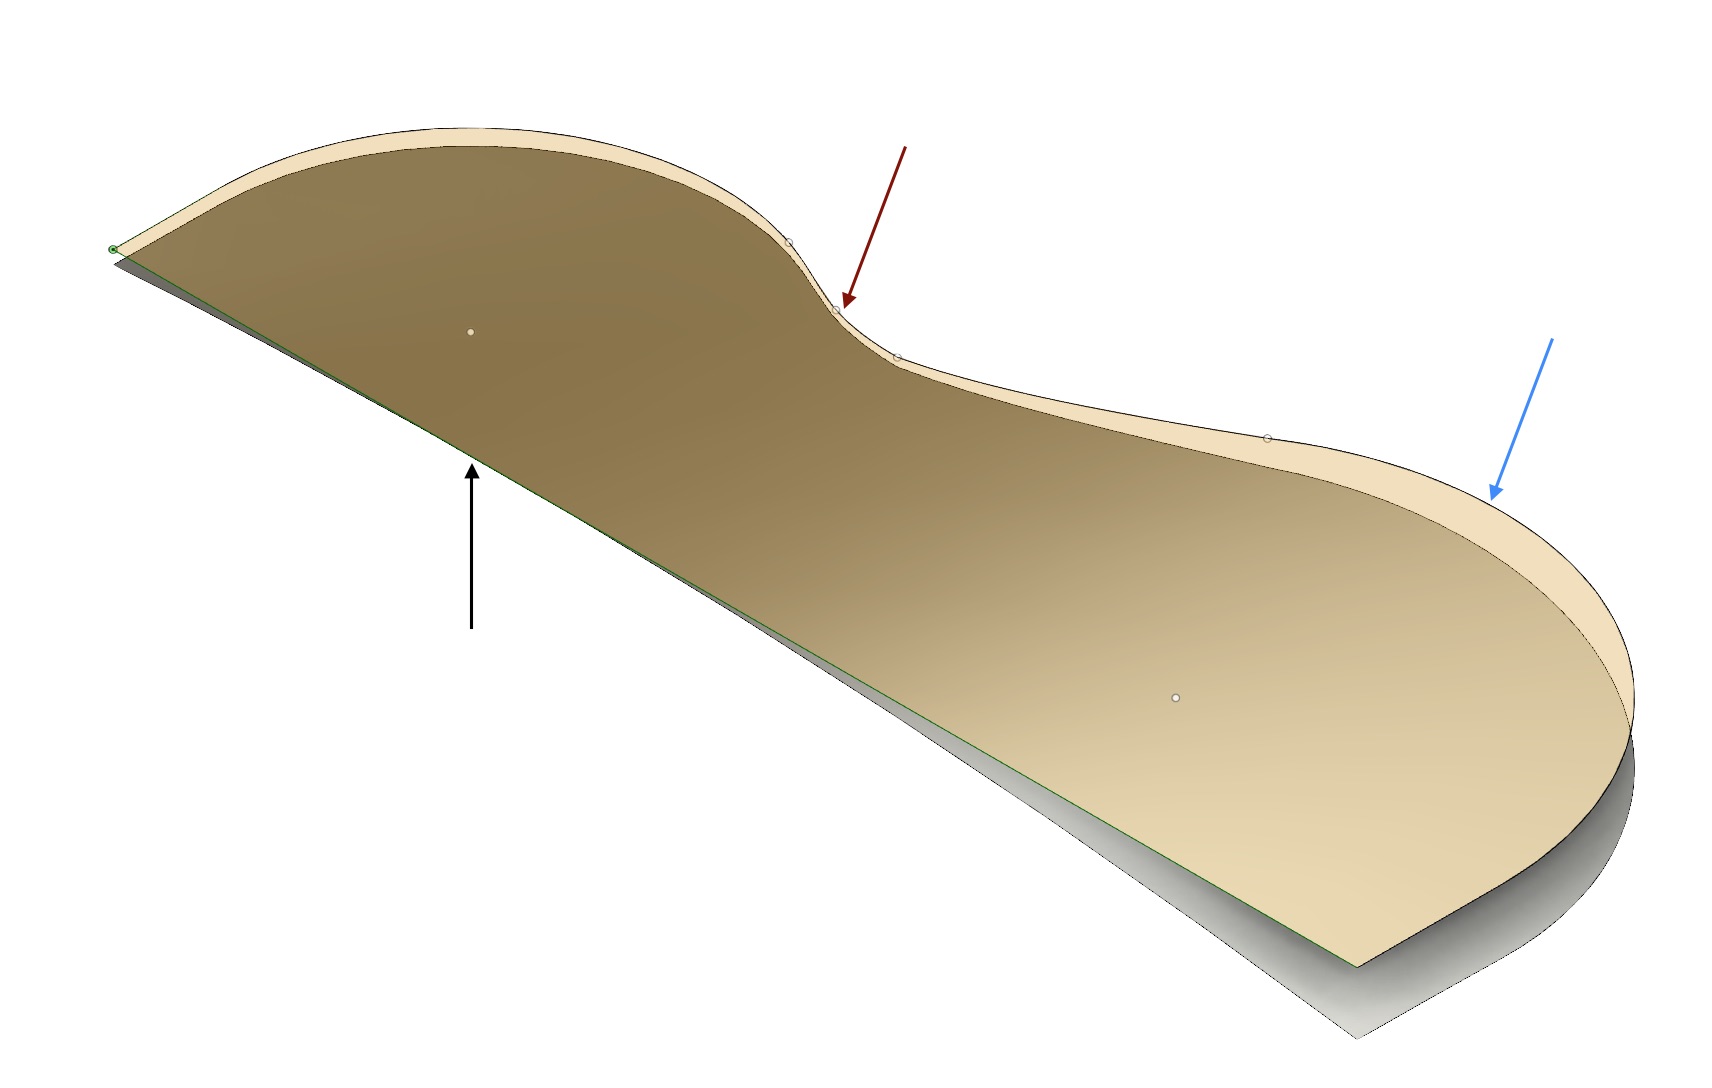
Figure's 4 and 5 show just the surface of the projection as it relates to the top or back. In Fig. 4, the tan outline represents the shape if the parts are not domed. The back of the guitar is lower than the front. But because the radial distance from the center point varies when moving along the outside path from front (green dot) to back the height at the waste (red arrow) higher than, for example, the lower bout (blue arrow).

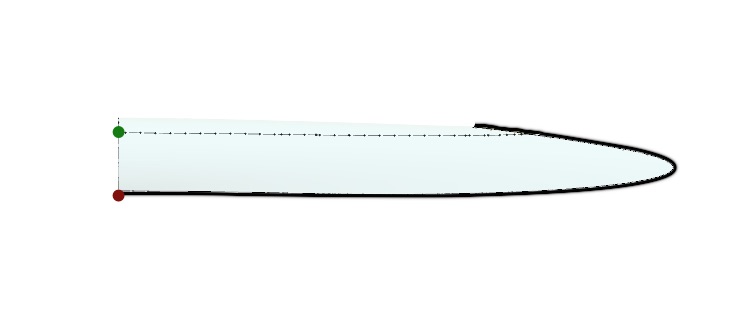
Figure 6 shows the same surface as viewed from the side. The thick black line represents the outside curve. From that you can clearly see that the center point (black arrow and dot) is higher than the equivalent point on the edge (black line). A second view (rotated 90 degrees about the vertical axis of the page) is shown in Figure 7, this time looking from the butt of the guitar toward the neck. The faint dashed line represents the upper bout.
If the surface of the guitar (either top or back) were perfectly flat, the work board surface would simply be the flat horizontal line. However, because the surfaces are being domed the work board needs to be carved out (concave). Why carved out? Because the both the top and back of a guitar have braces it's necessary to work on those parts flipped over, such that the outside (the part you see) if face down.

Plotting the difference from perfectly flat to the needed depth along the outside edge it can be seen that required depth varies as you trace along the path from front to back (Figure 8). Therefore in order to get the right degree of doming the depth of the carved out work board (again the part is inverted when working on it) will be slightly below the surface of the board (dashed line). The profile will raise slightly on the approach to the waist (~13 in along the path), because the radial distance of the waist from the center line of the part is smaller, hence the degree of curvature on the sphere surface is less. Then as profile approaches the back of the guitar, it lowers again as the curvature increases. The combined views are shown in Figure 9 to better illustrate this point.
Feel free to contact me with any questions.